How to Set Up a NECS iPhone
NECS issued iPhones are enrolled in the Apple Device Enrollment Programme (DEP) which means NECS can manage the devices remotely. There may be the occasion where you may receive a device which needs to be set up from scratch eg. a new device or a device which has been reset to factory settings.
This article describes the setup process from beginning to end.
IMPORTANT INFORMATION: Setup usually involves connecting to a WiFi network. Public Wifi networks such as “NECS_Public” can sometimes be congested and cause the setup process to fail. Where possible, please try to connect to a strong, reliable network or use the mobile 3G/4G data network if this option is available during setup.
The following is for a typical recommended setup.
IT IS IMPERATIVE THAT YOU COMPLETE THE “ESSENTIAL STEPS” DURING SETUP.
Initial Setup
Switch on the iPhone by pressing/holding the sleep/wake button on the top or side of the device. The Apple logo should display as the device starts up.
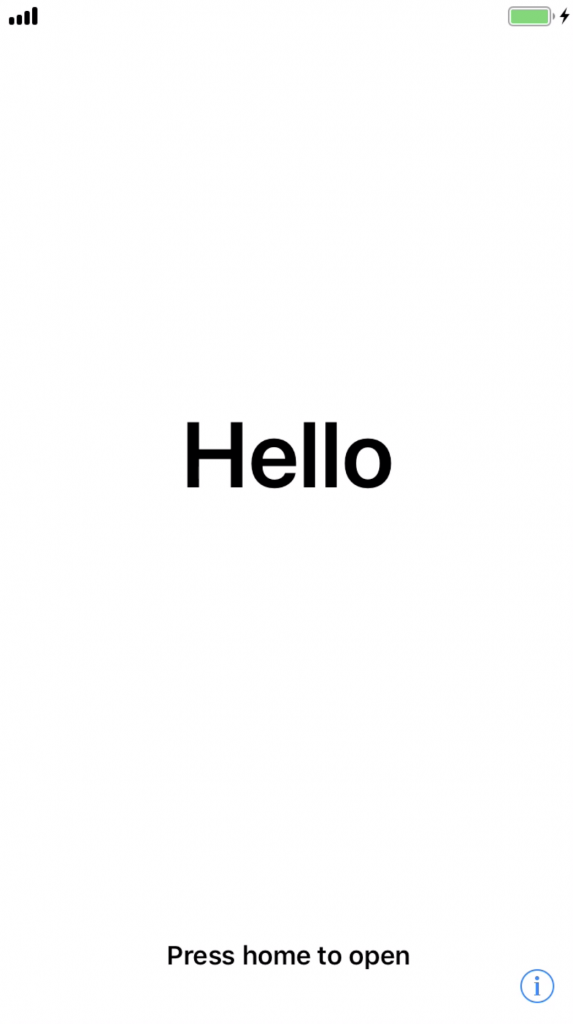
At the “Hello” screen, press the Home Button
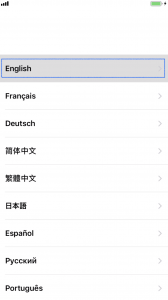
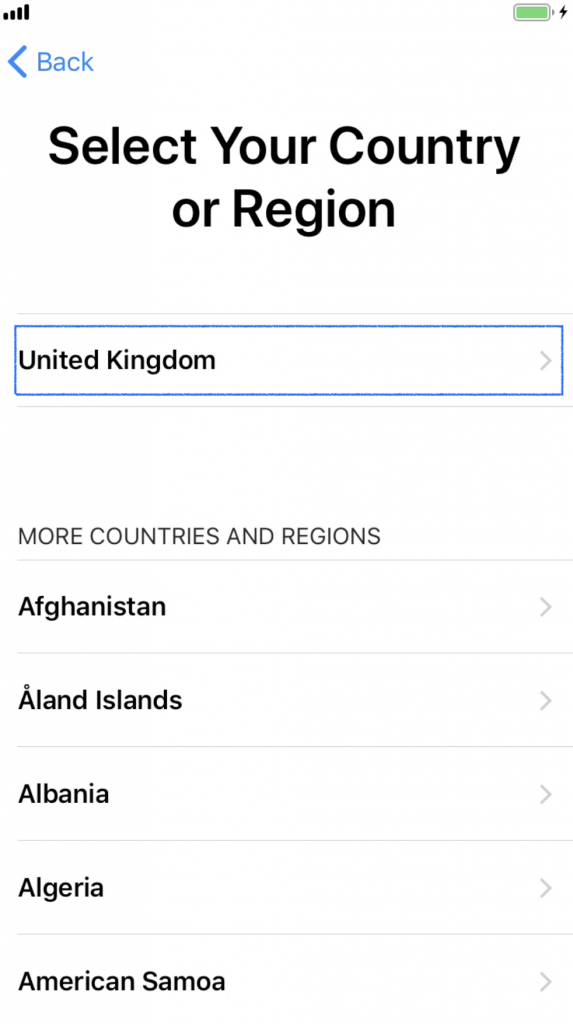 Tap desired language then tap United Kingdom
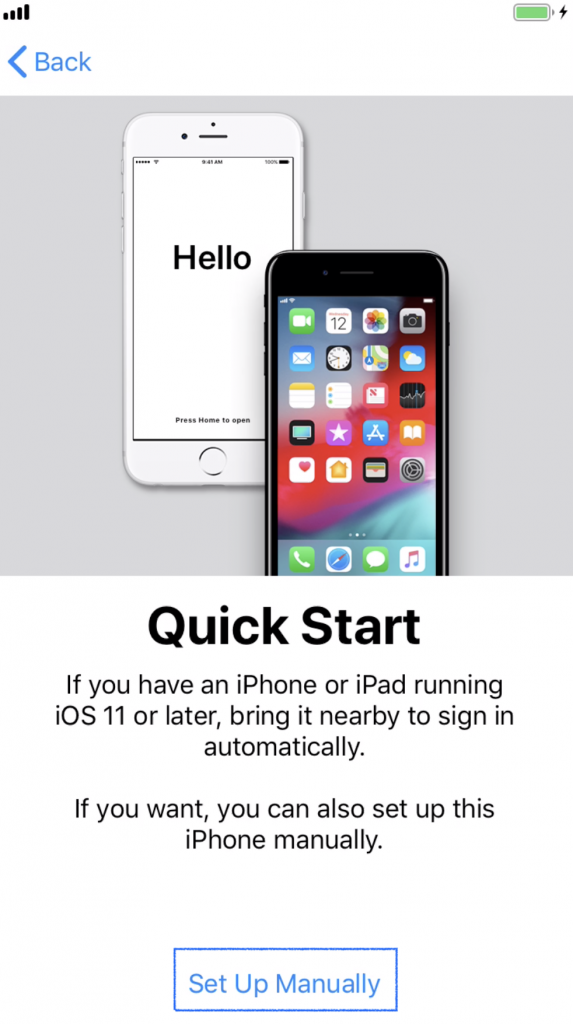 Tap Set Up Manually
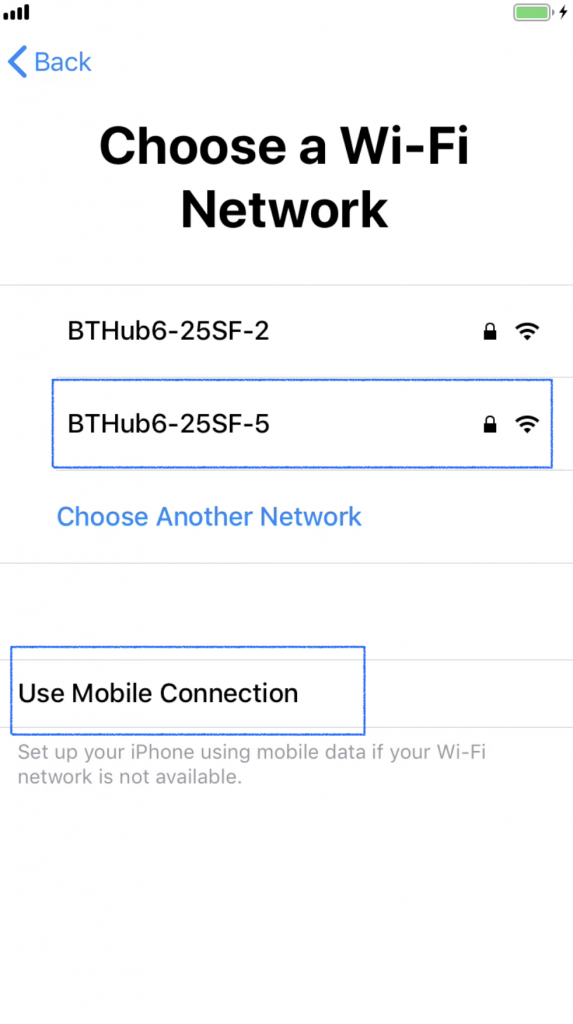 Tap an available WiFi Network or Use Mobile Connection (if this option is available)
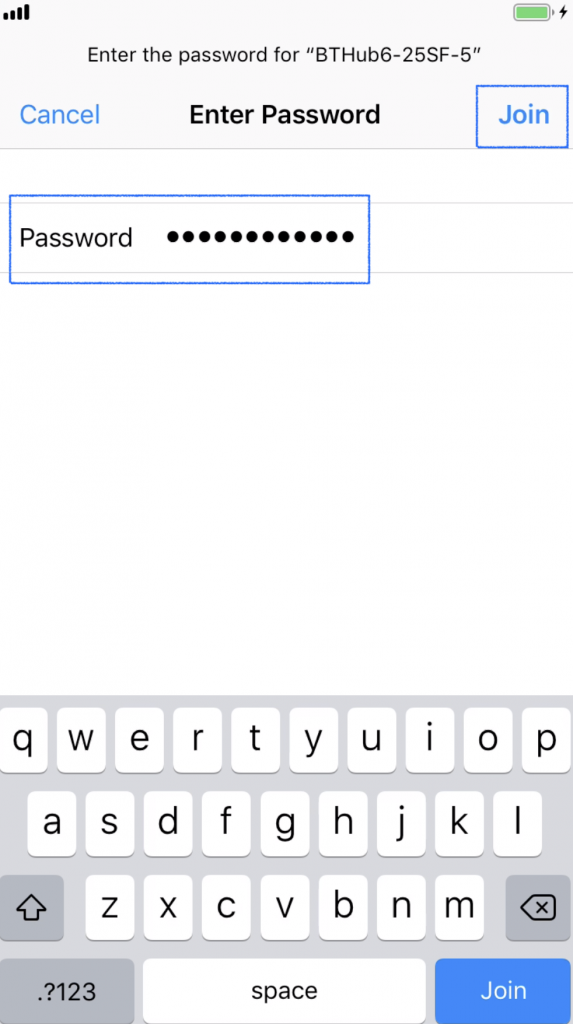 If Wifi selected in previous step – enter WiFi Password, tap Join.
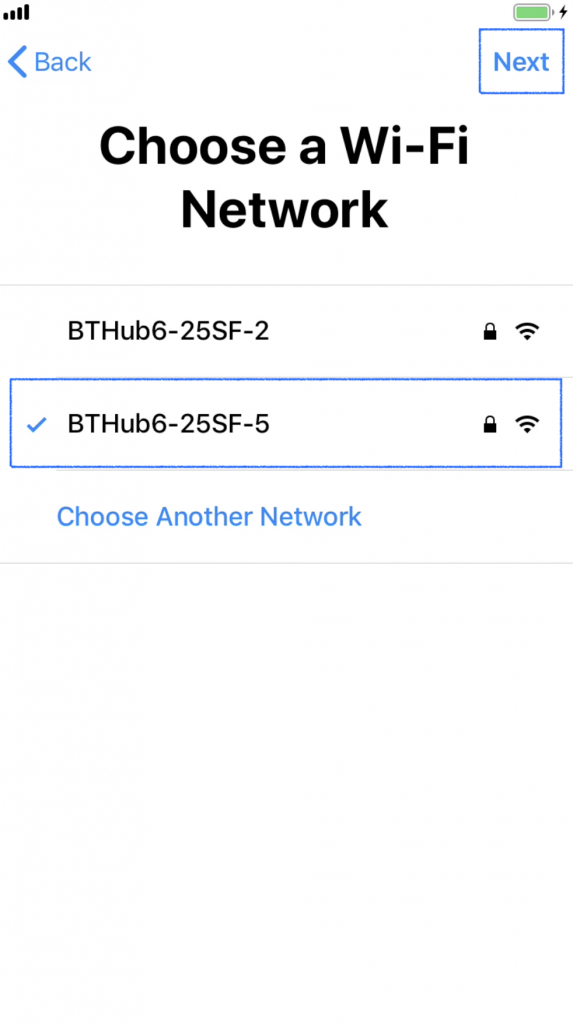 Once joined, tap Next
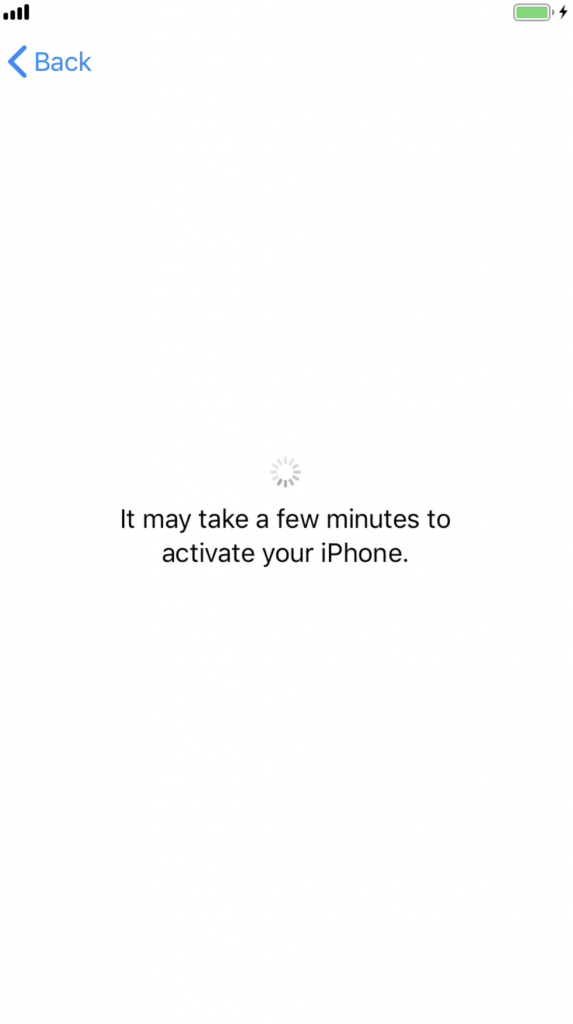
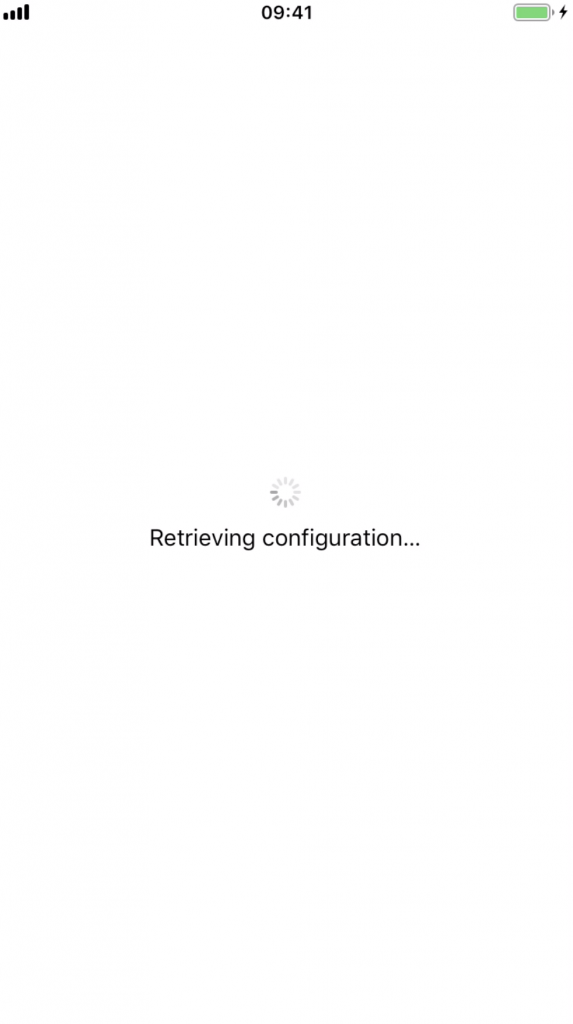 iPhone should activate and retrieve configuration
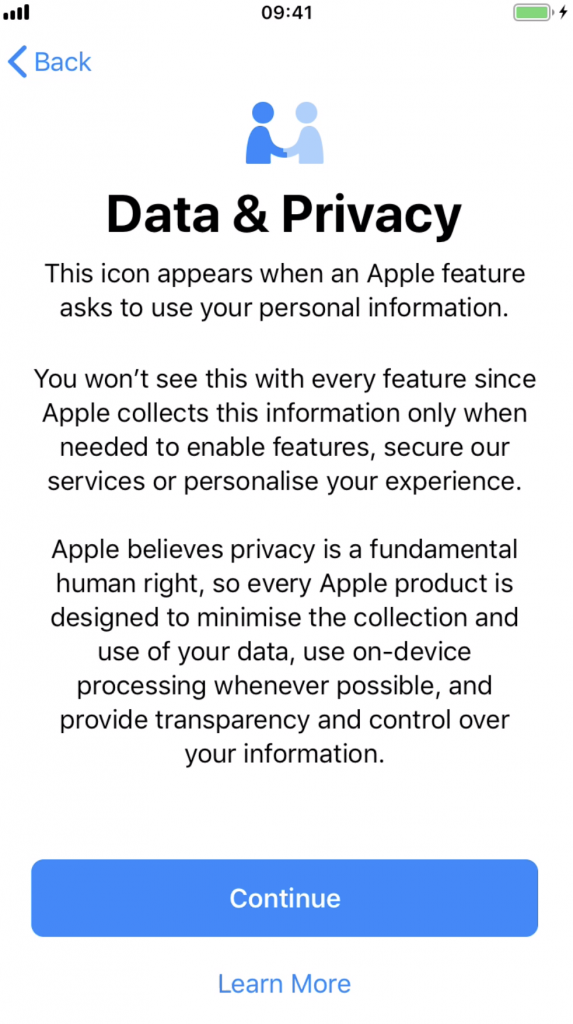 Tap Continue at the Data & Privacy screen
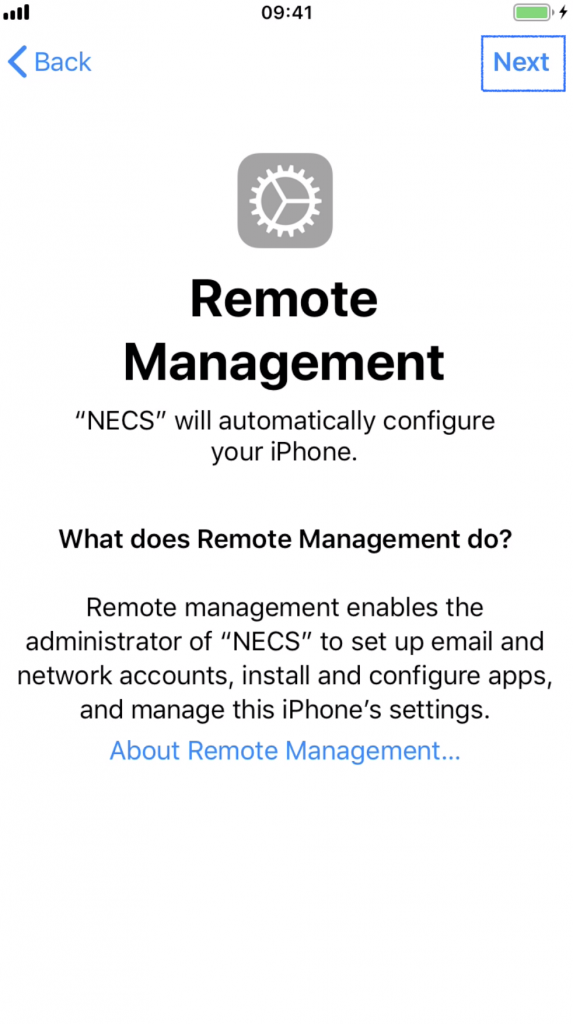 Tap Next at the Remote Management Screen
PLEASE NOTE: if the Remote Management screen does not appear there is a problem. Therefore, please stop and contact the Service Desk for assistance.
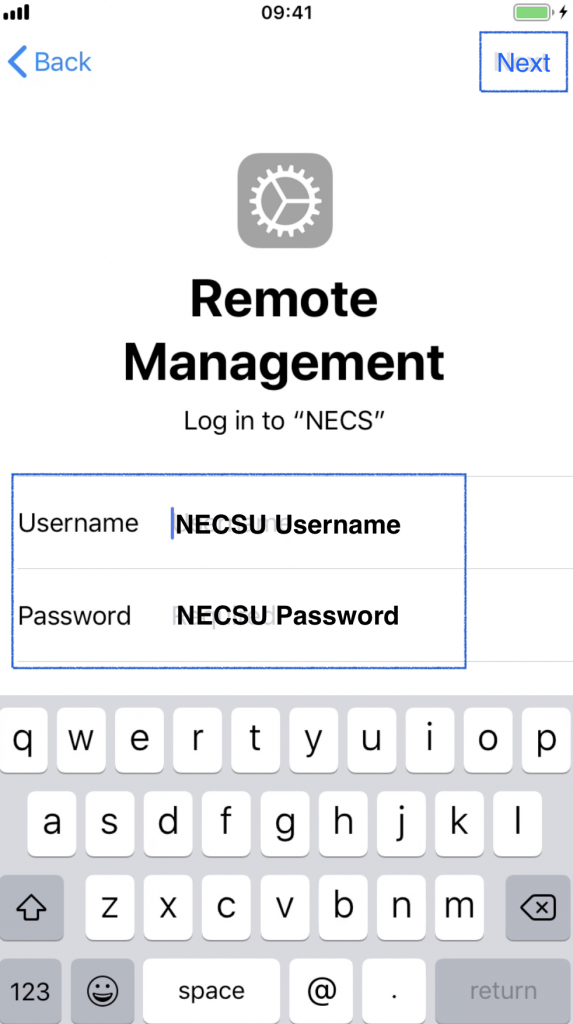 Enter your NECSU login details, tap Next. (eg firstname.surname and password)
NOTE: These will be the login credentials you likely use to log on to your NECS issued PC/laptop. For some staff members eg. some Cumbria staff, these will likely be your EPML login details. If you cannot “tap” into the Password field due to the screen size, please press the Return button after entering your username. This should then place the cursor in the Password field ready for you to start typing your password.
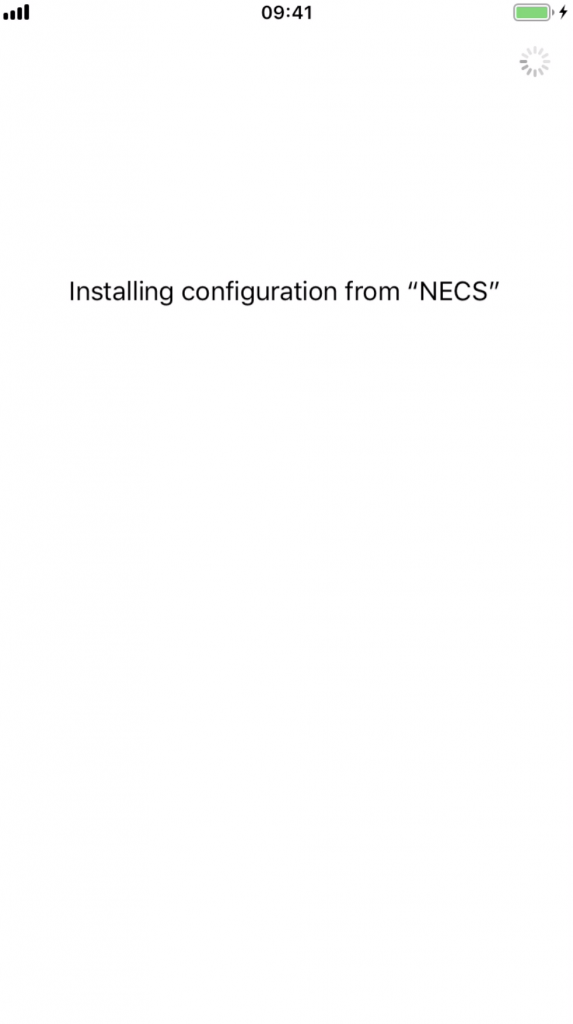 If details entered in previous step are correct, config should install…
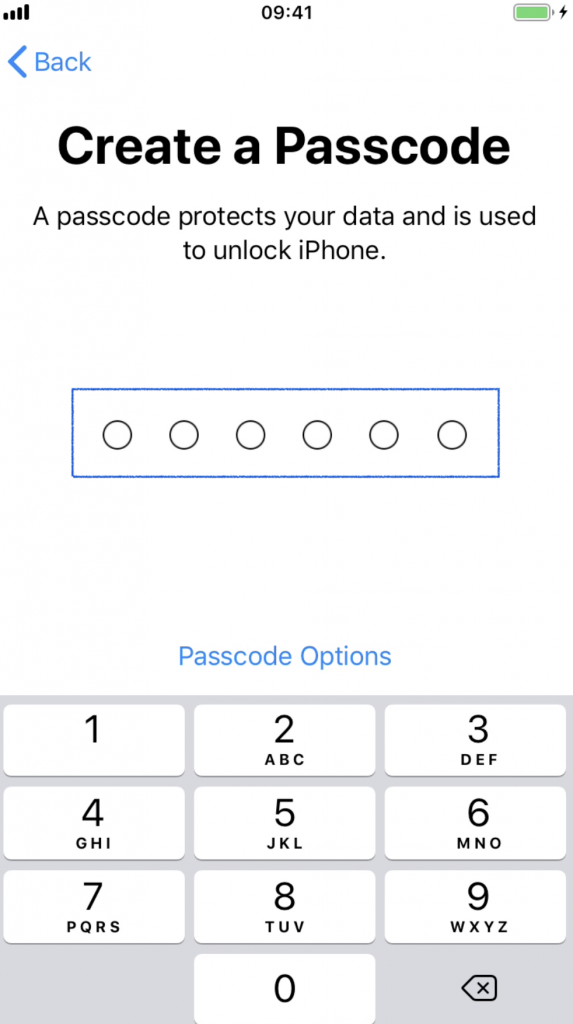 Set a 6-digit passcode. Enter this twice.
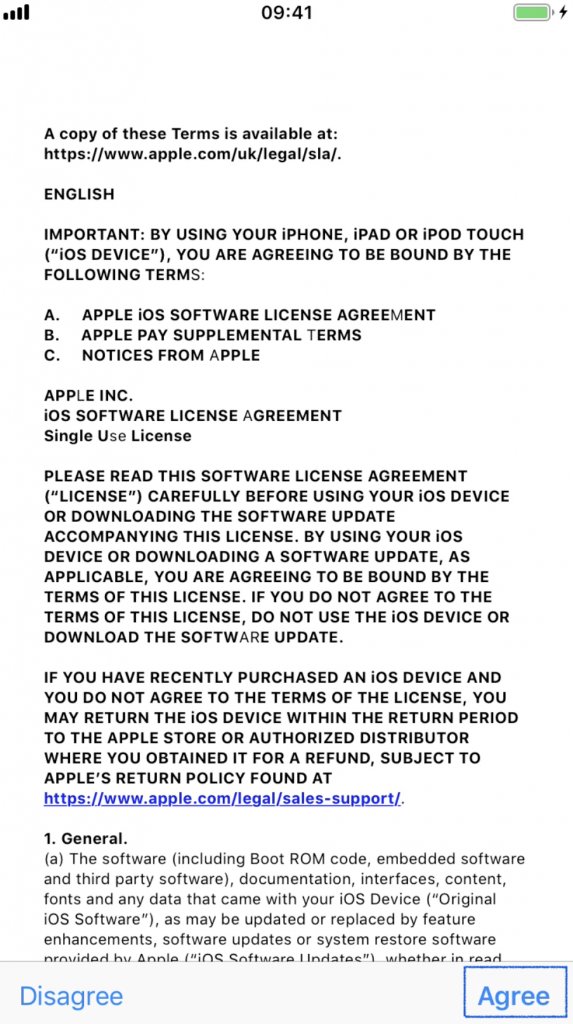
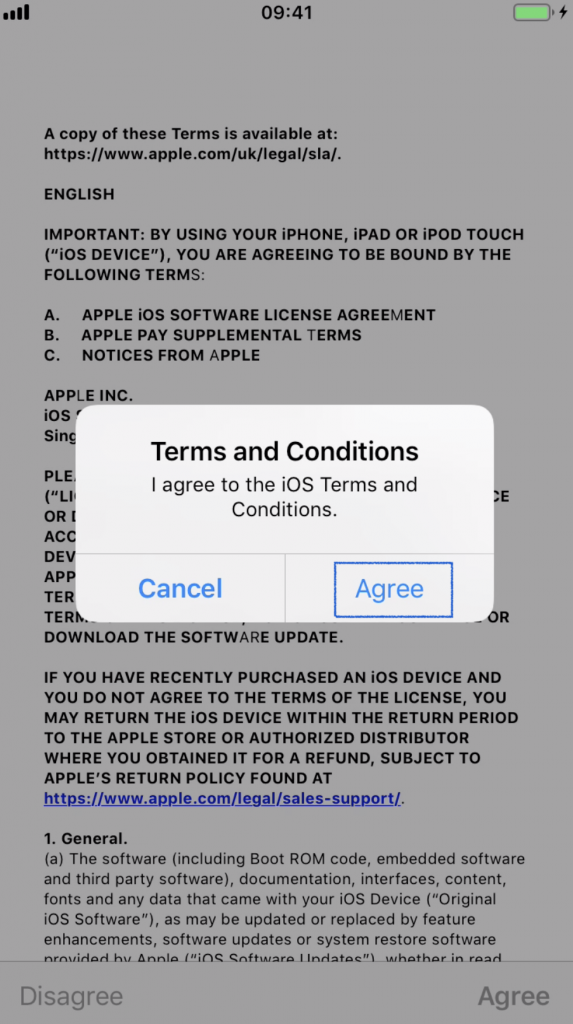 Read and Agree to the Apple Terms and Conditions
It is recommended the default options are selected on the following screens. Tap the appropriate option.
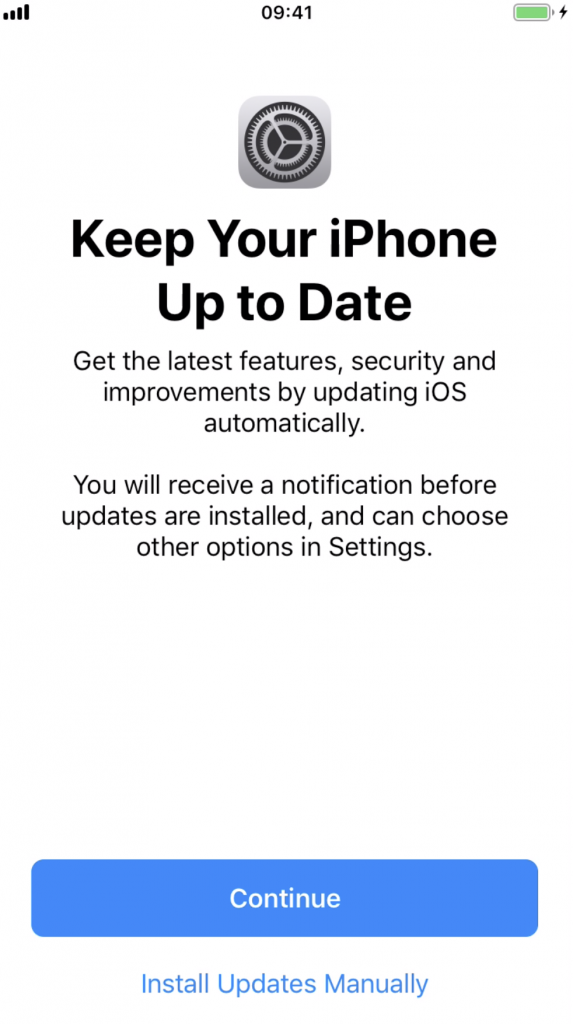
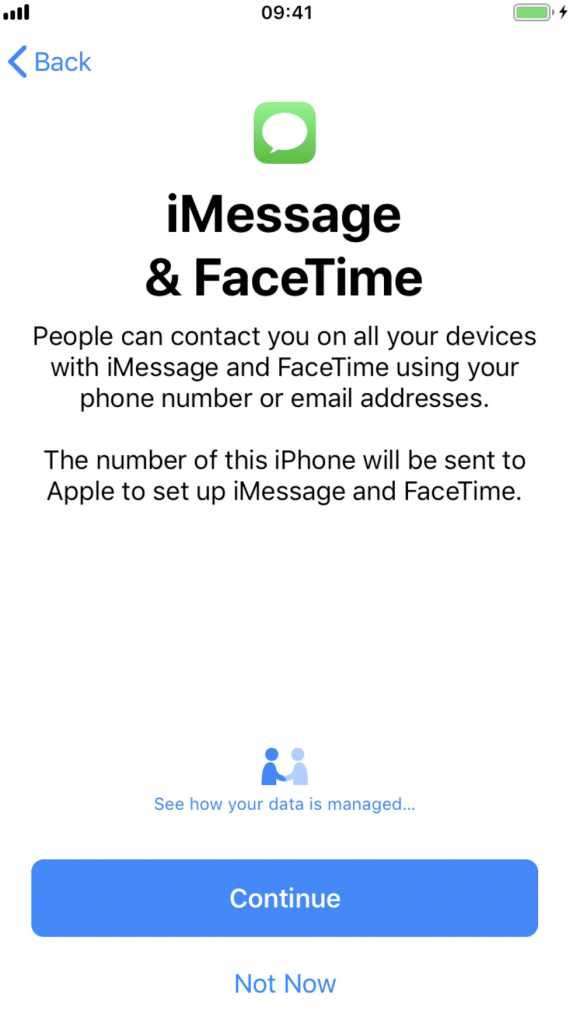
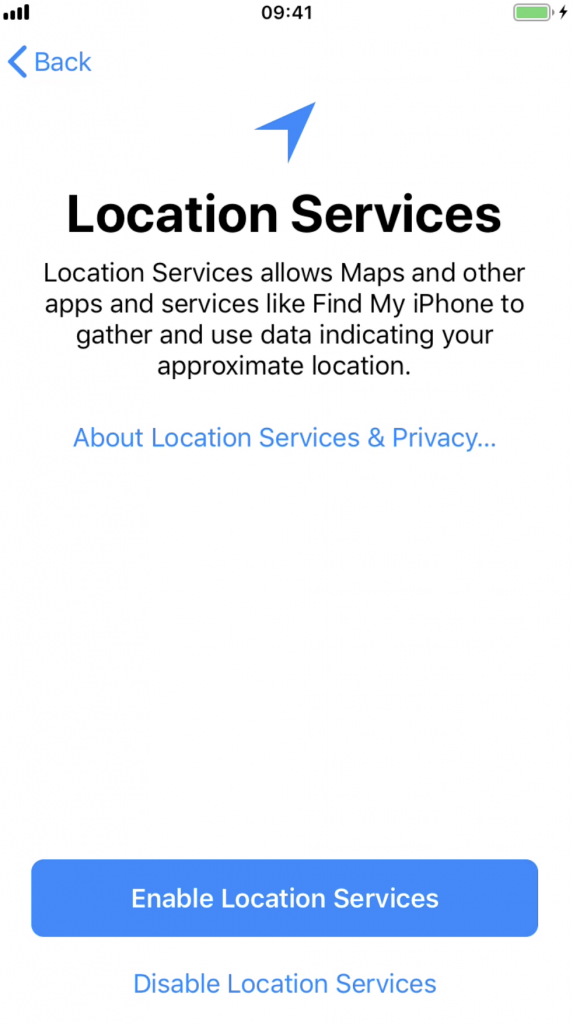
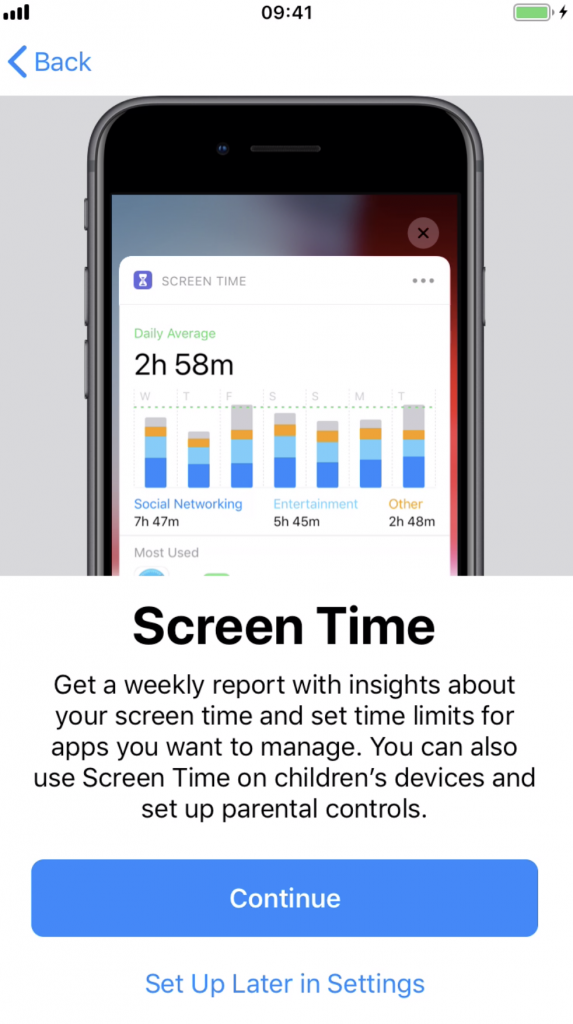
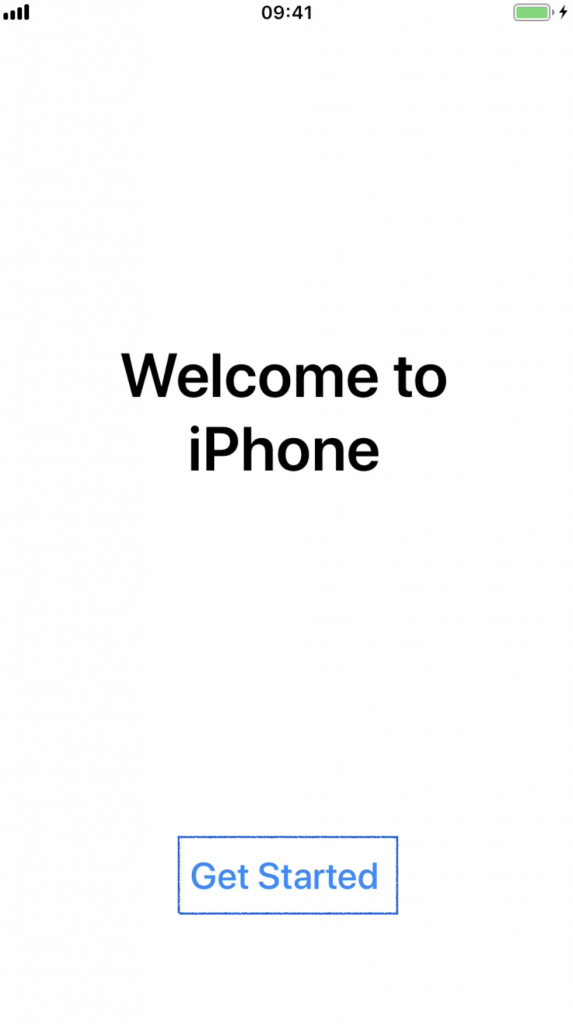
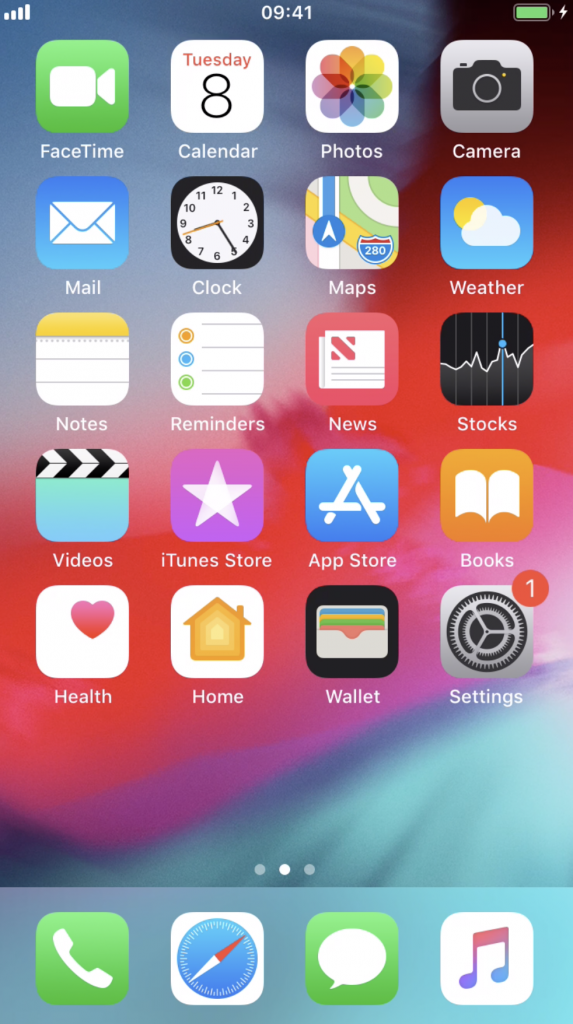 Tap Get Started. The iPhone Home Screen should display
iPhone Configuration – ESSENTIAL STEPS
It is ESSENTIAL that the following steps are carried out to place the iPhone under management. Please continue with the following steps.
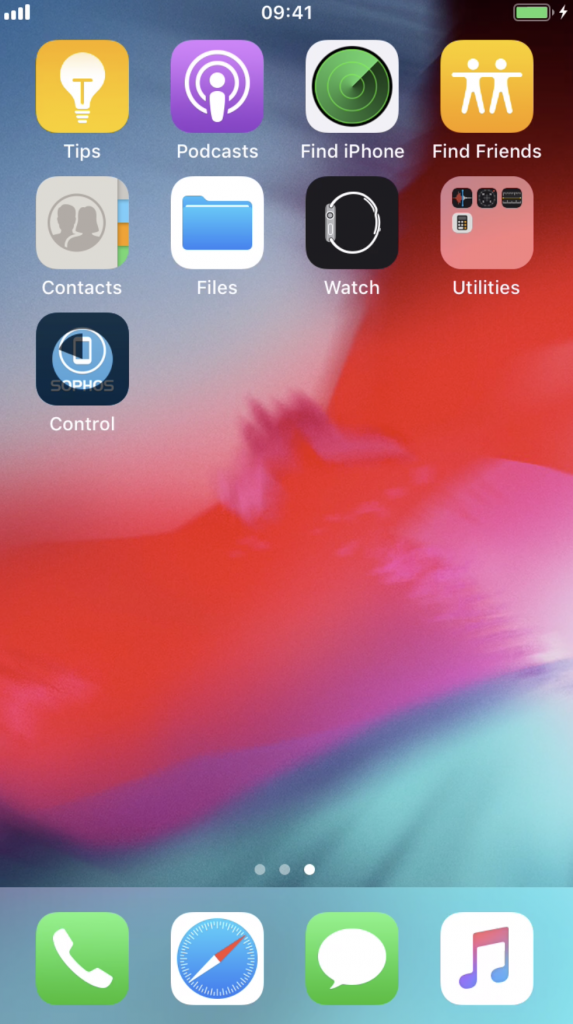 Sophos Control App
 ![]() should auto install. Once installed tap the icon to launch
should auto install. Once installed tap the icon to launch
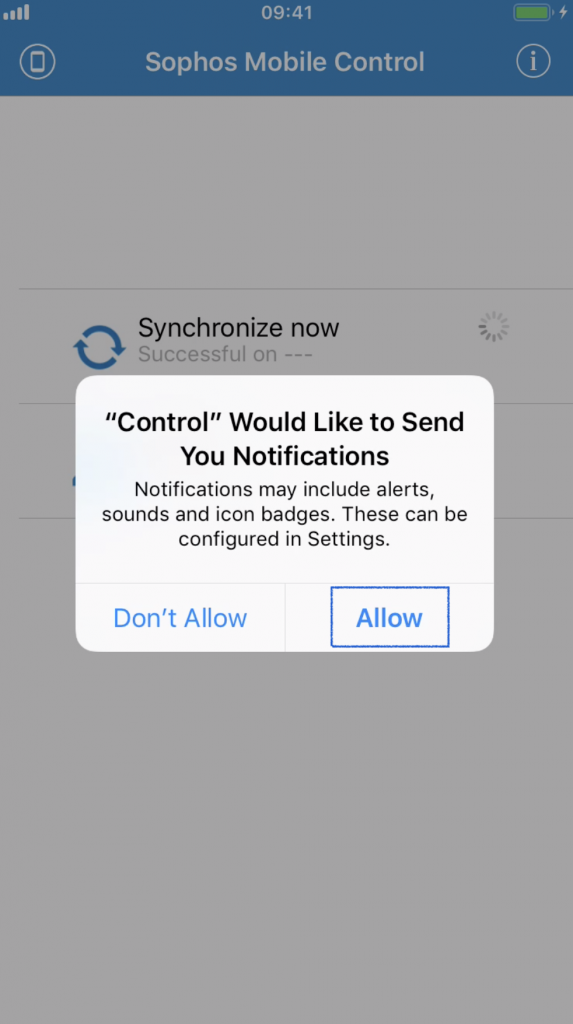
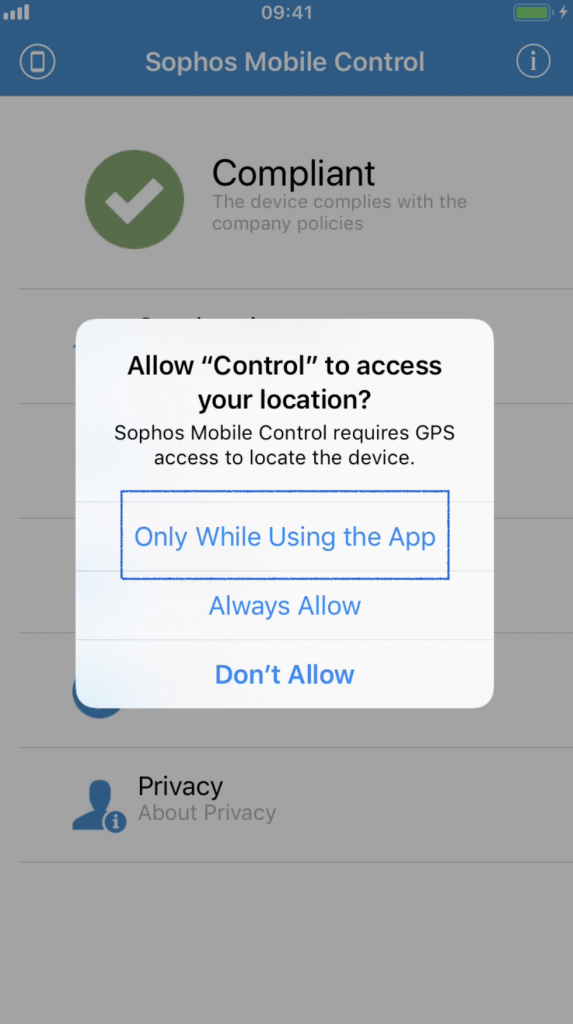 Tap Allow and Only While Using the App
If the iPhone is up to date with the latest Apple iOS software, the device should show as “Compliant” in the Sophos Control App – if not, you can check this article for help on non-compliance or contact the Service Desk.
Press the Home Button to go back to the Home Screen. The iPhone should download further configuration from NECS including the corporate wallpaper and other security settings.
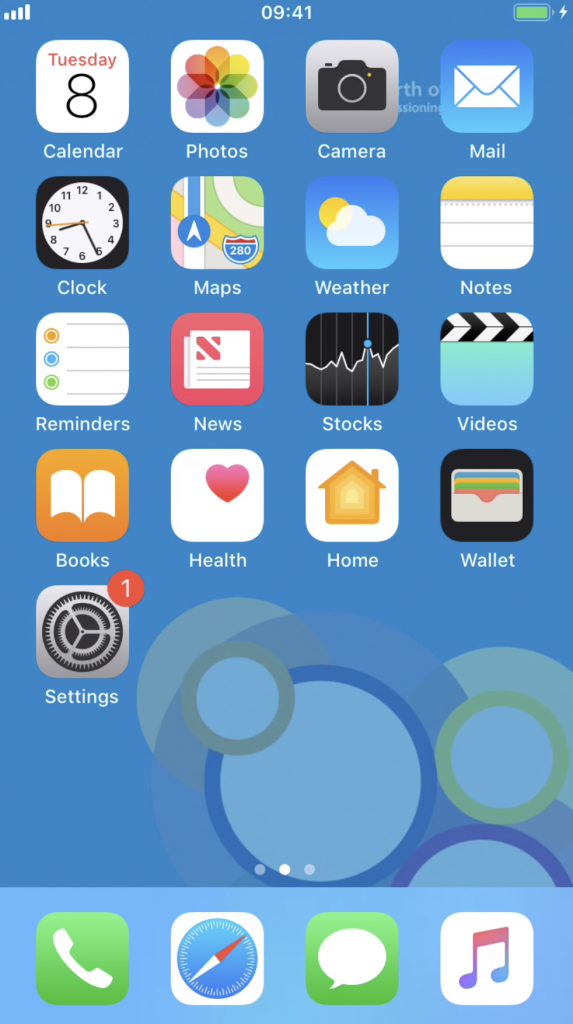 From the Home Screen, tap the Settings icon
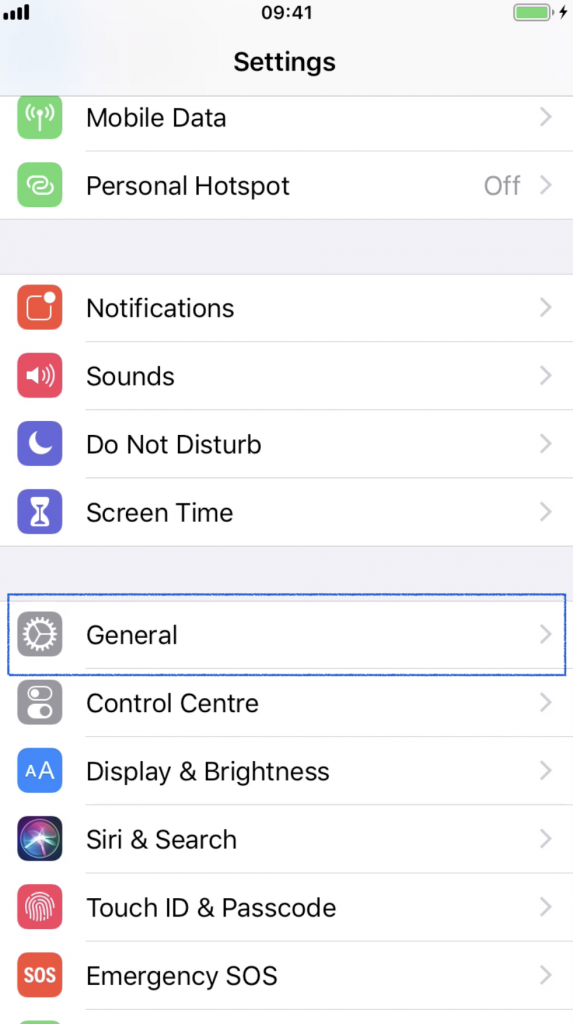
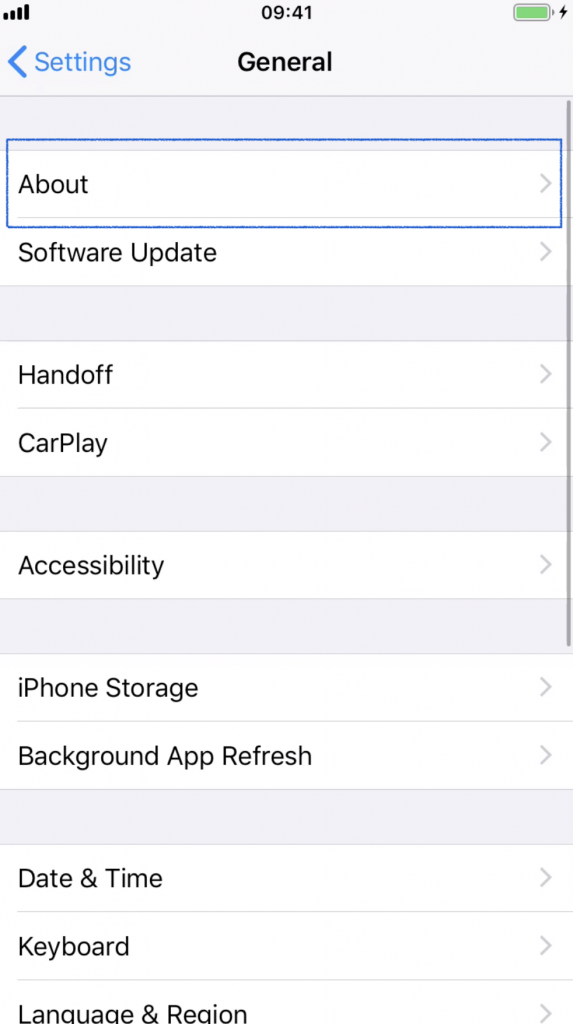
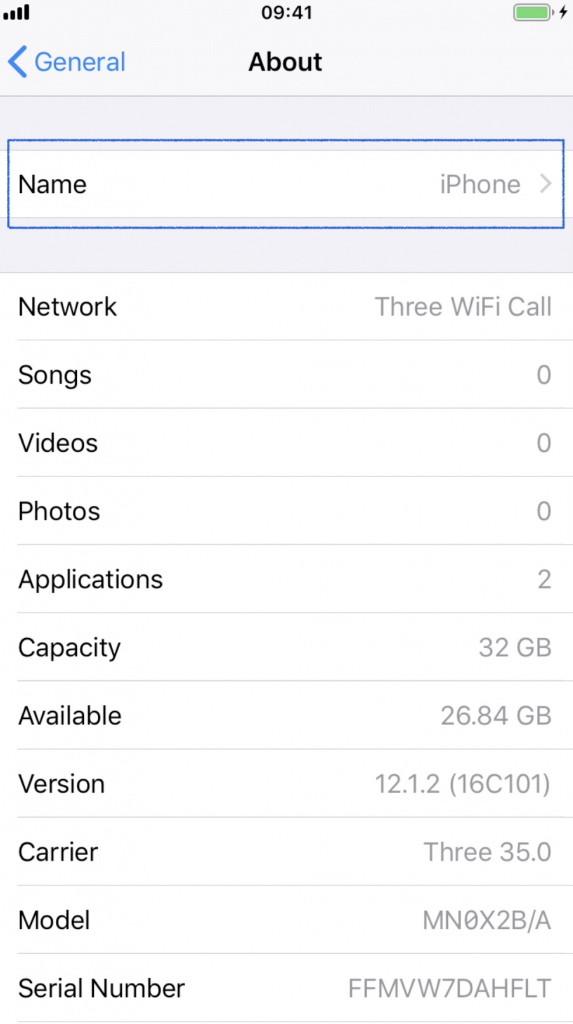 Tap General > About > Name
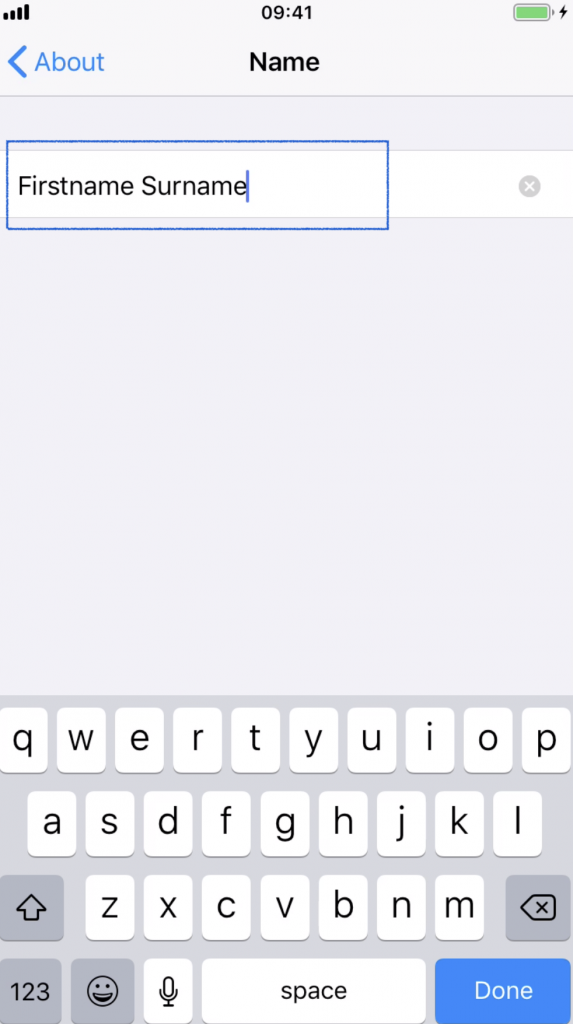 Rename the iPhone with your own name then tap Done. Press the Home Button
NOTE: this step is required to identify the device in certain system reports. Examples include full name, initials etc.
Final Setup/Tidy Up
The following steps are optional.
Apple Pay Notification Dismissal
To dismiss the Apple Pay setup notification – do the following…..
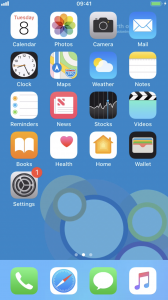
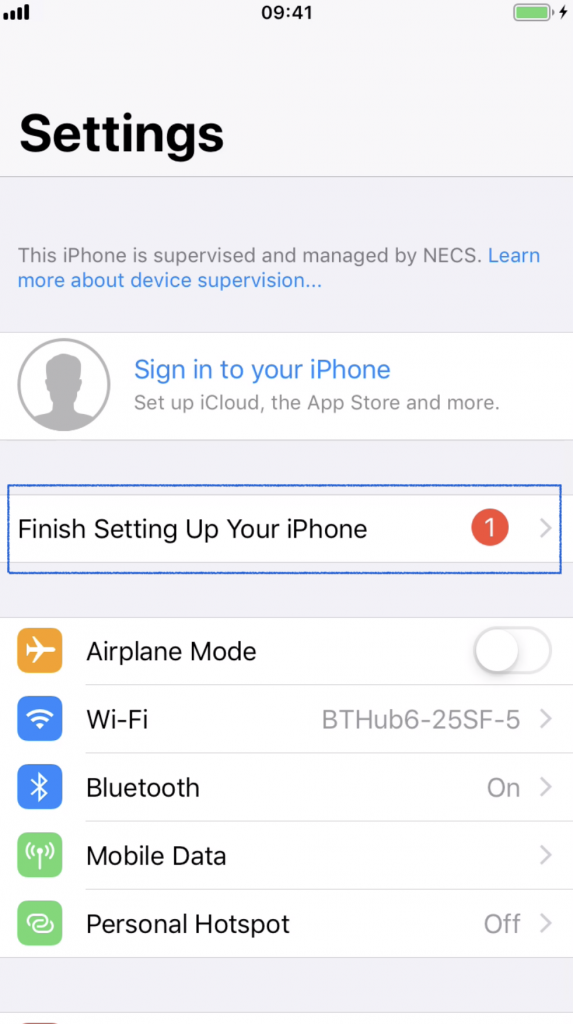 Tap Settings then tap Finish Setting Up Your iPhone
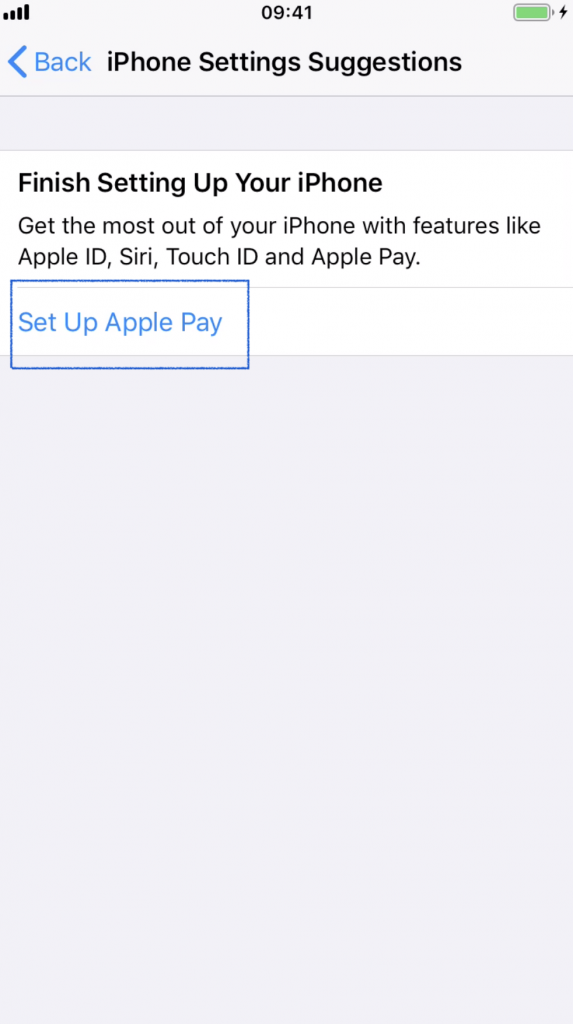 Tap Set Up Apple Pay (you are NOT going to do this)
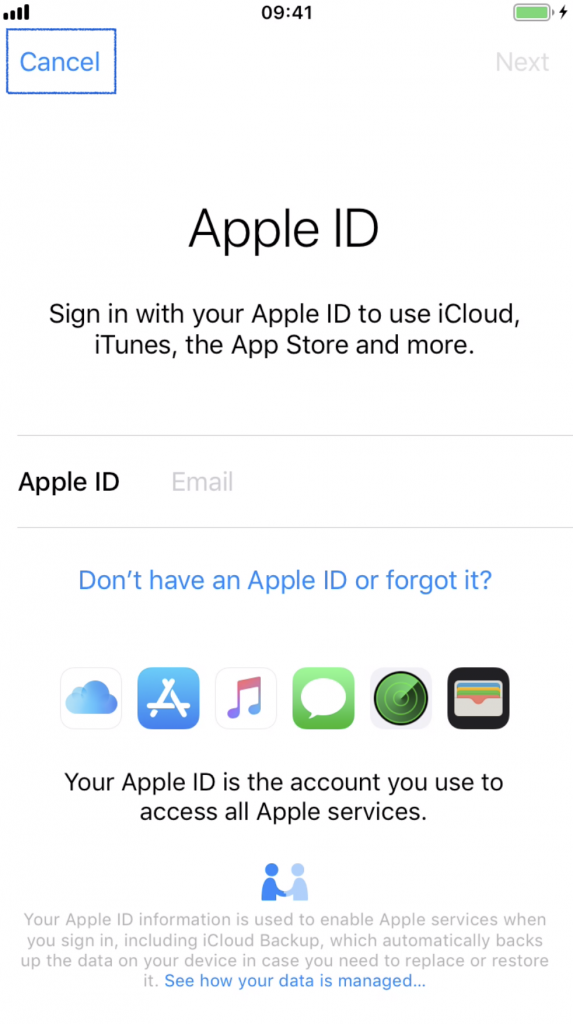 Tap Cancel. This will dismiss the notification about Apple Pay
BMS Setup (NECS VPN)
The BMS app should have automatically installed on the iPhone. If you use this remote access solution – you should have received the personal setup details when your account was created. Please follow those instructions to set up the app. Articles are also available here. If you no longer have your personal setup details, please contact the Service Desk
NHS Mail Setup
To add your NHS Mail (NHS.net) account to the iPhone, an article is available HERE.
